
 Alizabeth Swain
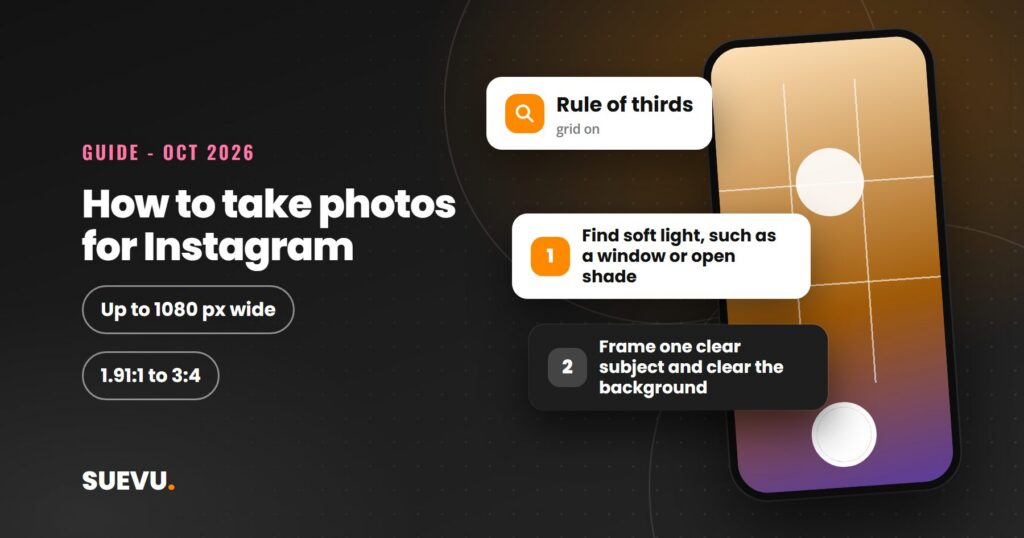
Learning how to take photos for Instagram mostly comes down to light, framing and a light touch with editing, because the app can only work with what you give it. This guide covers photography tips for Instagram in plain steps, plus the technical limits Instagram states for photo uploads. It was checked against Instagram’s Help Center and a photography publisher on 21 October 2026.
Looking for the other meaning of “how to take photos from Instagram”, which is saving pictures that are already posted? That is a separate topic, covered in our guide to saving Instagram photos.
Quick answer: shoot in soft, even light (a window, open shade or an overcast sky), keep one clear subject in the frame, and upload a photo at least 1080 pixels wide so Instagram does not have to resize it. Edit lightly with the in-app tools and write alt text.
Status: checked on 21 October 2026. Cost: free, any phone camera works. Note: the lighting tips are editorial advice, not Instagram rules.
What Instagram says about photo size
Instagram’s Help Center page on image resolution sets out the limits that matter before you press the shutter:
- Instagram uploads a photo at the best quality possible, up to a width of 1080 pixels.
- A photo between 320 and 1080 pixels wide keeps its original resolution as long as the aspect ratio is between 1.91:1 and 3:4 (a 1080-pixel-wide photo with a height of 566 to 1,440 pixels).
- If the aspect ratio is not supported, the photo is cropped to fit a supported one.
- A lower-resolution photo is enlarged to a width of 320 pixels, and a higher-resolution one is sized down to 1080 pixels.
- Instagram’s own advice for a 1080-pixel width: use the latest app version, upload a photo at least 1080 pixels wide within the supported ratio, and use a phone with a good camera, since cameras vary.
Most recent phone photos are already wider than 1080 pixels, so the ratio is the thing to watch. Leave some space around your subject so a crop does not cut off anything important. Our Instagram guides cover the rest of the posting workflow.
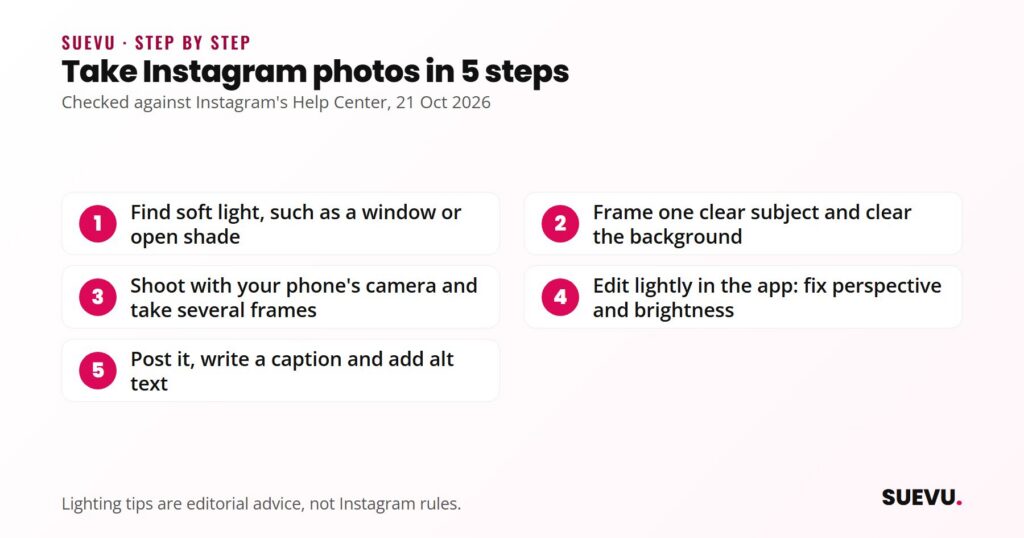
Step 1: find soft light
Light changes how a photo looks more than almost any other choice. The points below are techniques photographers teach, not Instagram requirements.
- Window light. Position your subject next to a window rather than reaching for the flash.
- Overcast skies. An article on Fstoppers by Mujahid Ur Rehman, published 1 March 2026 and summarising a video by Martin Castein, describes cloudy skies as a broad, even light source. It suggests “negative fill”: placing the subject beside a dark surface such as a dark wall to add shadow and dimension to a flat scene.
- Harsh midday sun. The same article says it casts downward shadows that create “raccoon eyes”, and suggests moving the subject under an overhang or porch so the open area in front acts like a large, diffused window. These outdoor lighting tips come from an Fstoppers article that summarises one photographer’s video. The page returned an error when we rechecked it on 27 October 2026, so treat the tips as one method among several.
- Open shade. If the sun is strong and you cannot move, step into the shade of a building or tree with the subject and let the sunlit area sit behind them.
Step 2: frame one subject
- Pick one subject and ask what the photo is about. If you cannot say it in a few words, simplify.
- Clear the background. Remove clutter or move a step to the side so nothing appears to grow out of your subject’s head.
- Use the gridlines on your phone’s camera to line up horizons, and place the subject off centre if it suits the picture.
- Get closer or change angle before you reach for editing. Low, high and side-on views often beat a straight-on shot.
- Leave a margin for the crop, given the 1.91:1 to 3:4 range above.
If you want to show more than one frame of the same scene, a carousel works better than several near-identical posts. Our guide to the Instagram slideshow and carousel explains how.
Step 3: shoot with your phone’s camera
Many people shoot in the phone’s own camera app and upload the result, rather than shooting inside Instagram. Instagram does not require this, and its Help Center describes taking a new photo in the app as an option. If you want extra apps for the job, our list of Instagram tools is a starting point. The advantage of the phone’s camera is control: you can lock focus, check the result at full size and take several versions before choosing one.
- Wipe the lens first. Fingerprints are a common cause of hazy photos.
- Tap the screen to set focus on your subject, and adjust exposure if your phone offers a slider.
- Hold still, or rest your elbows on something, and take more than one frame.
- Walk closer instead of using digital zoom where you can.
Step 4: edit lightly
Instagram’s page on applying effects to a photo lists the in-app tools. After you choose or take a photo, tap Next, then Edit at the bottom. According to the page:
- Adjust changes the vertical or horizontal perspective.
- Brightness makes the photo brighter or darker.
- Contrast makes the bright areas brighter and the dark areas darker.
- Structure brings out detail and texture.
- Warmth shifts the colours toward warmer orange or cooler blue tones.
- Saturation increases or decreases colour intensity.
- Color adds a tint to the shadows or highlights. The list continues with further tools such as Fade.
A sensible order is to fix perspective and brightness first, then make small changes to the rest. How far to go is a matter of taste, not a rule. For ready-made layouts and overlays, see our roundup of Instagram template tools.
Step 5: post and describe it
- Choose or take the photo from the Create menu and tap Next.
- Edit it (step 4), then tap Next again.
- Write a caption. Our guide to writing Instagram captions covers structure and tone.
- Add alt text. Instagram’s alt text page says Instagram generates a description using object recognition, that you can replace it with a better one, and that it is only read out to people using a screen reader. You can edit it before sharing or after posting.
- Share, then check how the photo looks in your grid. For timing, see how often to post on Instagram.
Menu labels change as Instagram updates the app. If something differs on your screen, follow the Help Center pages linked here.
Common mistakes
- Placing the subject at the very edge of the frame, then having it cropped.
- Using the flash on a subject that is already well lit.
- Over-editing until skin and colours look unnatural.
- Posting many near-identical shots instead of the best one, or a carousel.
- Leaving alt text blank.
Good photos are only part of reach. For what comes after posting, see how to increase engagement on Instagram.
Related guides: using quotes on Instagram.
FAQ
What size should an Instagram photo be?
Instagram says a photo is uploaded at up to 1080 pixels wide, and keeps its original resolution if the aspect ratio is between 1.91:1 and 3:4.
Do I need a professional camera?
No. Instagram’s own advice is to use a phone with a good camera. Light and framing matter more than equipment.
Is natural light really better?
It is the most common advice from photographers, because soft light such as a window or an overcast sky avoids harsh shadows. It is a technique, not a requirement.
Which file types can I upload?
Instagram’s page on posting a photo from a computer lists jpg, png and heic/heif as supported formats (read on 21 October 2026).
Does this guide cover saving photos from Instagram?
No. See how to save Instagram photos. Only save or reuse other people’s photos with permission.
How often should I post photos?
We cover that in our posting-frequency guide, linked in step 5.